Refresh Your Kitchen with This Easy (and Cheap) DIY
April 26, 2021

Along with spring cleaning, the warmer months can bring the need to refresh your home. For some, this means sprucing up the details of their space. Or maybe you think it’s time for a DIY home renovation. Don’t get us wrong: we love a remodel with all the bells and whistles, but there are also simpler ways to give your kitchen the makeover that you want.
Time to bring in the best DIY weapon… painted cabinets! If you’re looking to give your kitchen a new look without too much construction, painting your cabinets will be your savior. This trick will take far less time than a full remodel and will cost a fraction of the cost. Plus, it isn’t limited to the kitchen! Any cabinets in your home will do. When doing this, we urge you to experiment with colors. Take out your color journey map and fully experience the abundant advantages of using color in your space.
Follow the steps below for a time-effective cabinet makeover:
1. Before You Begin
Make sure to have a proper labeling system so that you know what cabinet doors go back where. Take pictures, number the cabinets, and/or draw diagrams. Whatever works for you!
2. It’s Time to Prep Your Cabinets and Space
- Make sure you know what you’re working with by assessing the cabinets. Do you need to make any repairs?
- Empty all the cabinets, and remove the doors.
- To prep your space, make sure to clean the cabinets by removing any dust, dirt, or grease. This is when the vacuum will be your best friend!
- Sand everything with medium grade sandpaper to ensure that the paint will stick to the surface.
- Lastly, cover all countertops, appliances, and anything else that you want to protect.
- Pro Tip: You may want to vacuum again to make sure that everything is properly cleaned.
3. Hello Primer
Before the actual painting comes, we suggest applying a layer of primer. This will help cover up any imperfections and give a more even paint color throughout. Make sure to prime the cabinet frames, doors (back to front), and drawers.
4. Time for the Good Stuff
Now that everything is primed, it’s time to bring on the paint. Just like you did with primer, paint all cabinet frames, doors, and drawers. Keep in mind that you’ll probably want to do two coats of paint.
5. Consider Refinishing Your Hardware
Since you’ve done all this work prepping, priming, and painting your beautiful cabinets, one way to bring things to the next level is getting new cabinet hardware. There are countless options, but keep in mind how you want your space to feel. You could go for something that feels antique. Or maybe you want a more sleek and modern look?
6. Almost Done
The last step is to reassemble your space. Bring out the pictures and drawings that you completed in step one to make this process as smooth as possible. Once all this is done, there’s nothing left to do, but enjoy your refreshed space fully!
If a DIY isn’t your style, schedule a free consultation and use our design freebies to beginning dreaming up your ideal space.
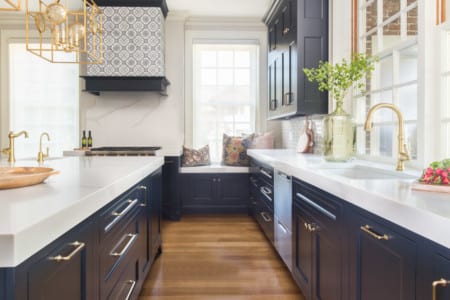
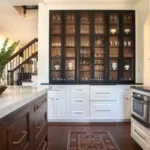
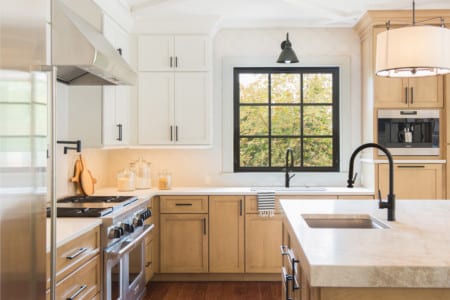
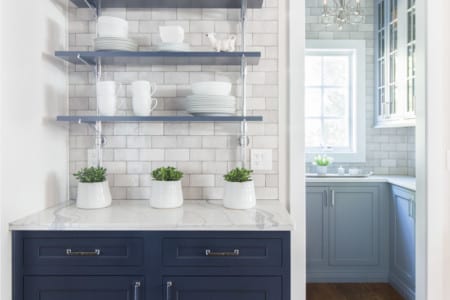
Disclaimer: This DIY was not used in any of the pictured kitchens. They do provide some pretty inspiration though 🙂

All About Interiors
The Story Behind a Kitchen Filled with Contrast

Test Drive Your Dream Space
Indigo Kitchen Story

Hiring The Right Team